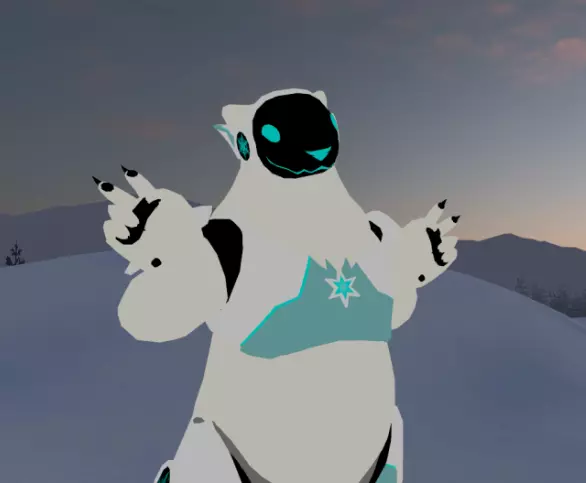
A Quest compatible version of my original ProtoBear VRC avatar. Includes both a Good ranked and a Medium ranked versions. I've tried my best to keep everything the same between the PC and Quest version.
Includes a .unitypackage as well as .blend file for edits. Also has layered and masked .psd and .clip files for texture edits. It has MMD visemes* as well as a few different chest panels. (*Since the PC version I reduced down to make these already had them, no other reason.)
General info:
● This is a free base, which means you can make your own from this, edit it as much as you like and make both private and public cloneable versions of it, kitbash it, - go wild.
● You may commission/be commissioned to do edits or texture rework to this model.
● You may import this model into other software such as other social VR platforms and for VTubing etc. (You may also stream/record/share yourself using it.)
● You cannot sell this model as is, or any edits you make of it.
● You cannot use this model for hateful messages or conduct.
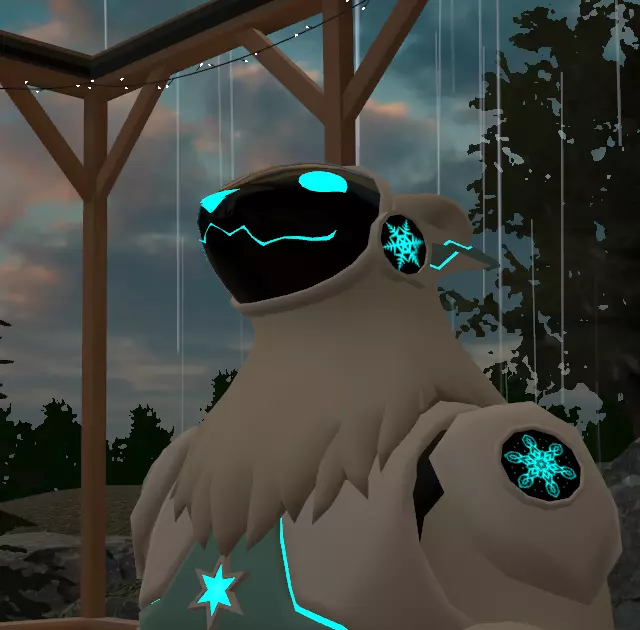
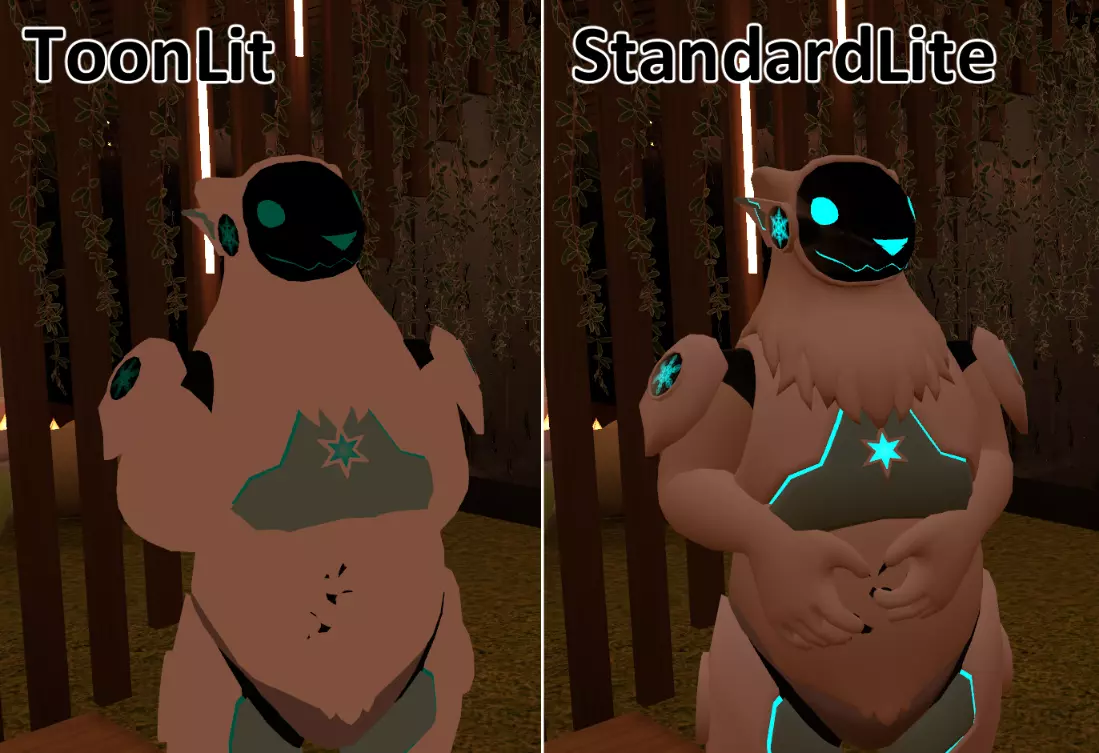
Overhauled the ingame menus, made a toggle for every premade expression for posing purposes and ironed out a couple of bugs.
Full update list can be found in the Drive folder.
So now both the Good and Medium ranked avis have belly physics.
Mostly just polishing a bunch of little things and ironing out a couple of bugs.
A list of what's been done is can be found in the main download folder.
This includes some new chest panel shapes, as well as some brand-spanking new VRC constraints on the shoulderpads and kneecaps.
(Old files are still accessible for anyone that wants them.)
There are two ways to do this.
The quicker one is you overwrite the textures in the project folder, which requires you to know where your Unityproject is stored. (Should be Unityprojects/NameOfYourAvatar/Assets/Proto_Quest/Materials) Make sure your own textures have the same names as the base ones, then you navigate your way into the Materials folder, drag and drop your images into that folder and accept the overwrite pop-up.
The other one is doing it all within Unity itself (pic at bottom):
So go into the materials folder, you should see two orbs, first one is 'Everything', other is 'EverythingStandard'.
Click on the material, then look to the right side section, make sure the 'Inspector' tab is selected.
On the 'Everything' material, you swap out the picture that's on the far right in the Inspector, for 'EverythingStandard' it's the Albedo you need to swap.
If you've changed the panel designs you will need to make your own 'Emission' map as well and swap that out. (The Emission mask is the black and white picture in the materials folder, the white parts glow, black ones don't.)
And don't forget to change the Emission colour as well if needed, it's the coloured box to the right of where you place your Emission mask.
https://i.imgur.com/XuwwbAk.png